Assumptions:
Below are list of assumptions:- Visual Studio Ultimate 2010 is installed.
- Sql Server Express 2008
- Minimum 4 GB RAM
Web Service API Functional and Performance Testing using VSTS:
1. Create a Test Method
Here are the steps to create a test in VSTS:
• Navigate to “Start-> All Programs -> Microsoft Visual Studio 2010” and Click “Microsoft Visual Studio 2010”.
• It will open the VSTS window.
• Click on “New Project” link.
• It will open a pop-up to select the project.
 • As I prefer C# so select “Test” in Visual C#.
• Select “Test Project”.
• Modify the “Name” say “DummyLearn”. (Whatever “Name” you will give, it keeps the “Solution name” as same.)
• Provide the “Location” were project will be remaining.
 • Click on “OK”.
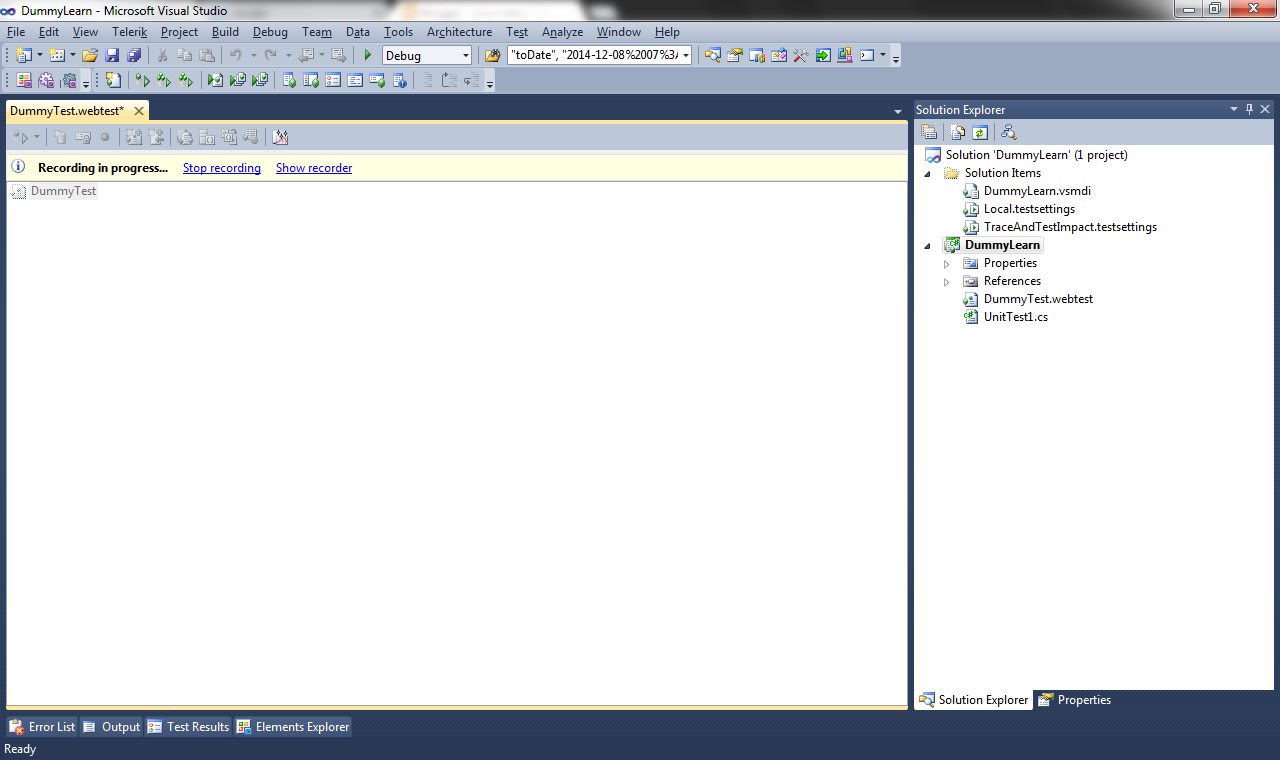
• It will create a “DummyLearn” test project.
 • By Default, It will create a “UnitTest1.cs” file and open it.
• Right Click on “UnitTest1.cs” file and select "Rename" option.
 • Rename the file as "dummytest" and pop-up window will appear.
• Click on "Yes".
 • It will update the class name.
 • Make a call to an API and read the response. Refer below code:
HttpWebRequest request = (HttpWebRequest)WebRequest.Create(strAPIURL);
request.Method = "GET";
using (HttpWebResponse response = request.GetResponse() as HttpWebResponse)
{
if (response.StatusCode == HttpStatusCode.OK)
{
using (Stream respStream = response.GetResponseStream())
{
StreamReader reader = new StreamReader(respStream, Encoding.UTF8);
Console.WriteLine(reader.ReadToEnd());
}
}
}

Here are the steps to create a test in VSTS:
• Navigate to “Start-> All Programs -> Microsoft Visual Studio 2010” and Click “Microsoft Visual Studio 2010”.
• It will open the VSTS window.
• Click on “New Project” link.

• It will open a pop-up to select the project.

• Select “Test Project”.
• Modify the “Name” say “DummyLearn”. (Whatever “Name” you will give, it keeps the “Solution name” as same.)
• Provide the “Location” were project will be remaining.

• It will create a “DummyLearn” test project.

• Right Click on “UnitTest1.cs” file and select "Rename" option.

• Click on "Yes".


HttpWebRequest request = (HttpWebRequest)WebRequest.Create(strAPIURL);
request.Method = "GET";
using (HttpWebResponse response = request.GetResponse() as HttpWebResponse)
{
if (response.StatusCode == HttpStatusCode.OK)
{
using (Stream respStream = response.GetResponseStream())
{
StreamReader reader = new StreamReader(respStream, Encoding.UTF8);
Console.WriteLine(reader.ReadToEnd());
}
}
}

2. Run a Test Method
Here are the steps to run a test method in VSTS:
• Put the cursor on any point within the Test Method and Right click on it.
• Select the "Run Tests" option.
 • Execution will be "In-Progress" status and we can view it in "Test Results" section.
 • Once execution is over, we can view the status either "Passed/Failed" in "Test Results" section.
 • Double click on executed method result in "Test Results" section.
• We can view the API response details.
 3. Parameterization
• Create a folder in project for test data say “TestData”.
• Copy-paste CSV files which has required data to be parameterize.
• Right-Click on “TestData” folder. Select “Add->Existing Item..”
• Select “All Files (*.*) “option at bottom and then select “Data.csv” file which is visible now.
• Click on “Add”.
• It will add the file in the project.
 • Add below mentioned TestContext code in the Class to get-set the values.
private TestContext testContextInstance;
public TestContext TestContext
{
get
{
return testContextInstance;
}
set
{
testContextInstance = value;
}
}
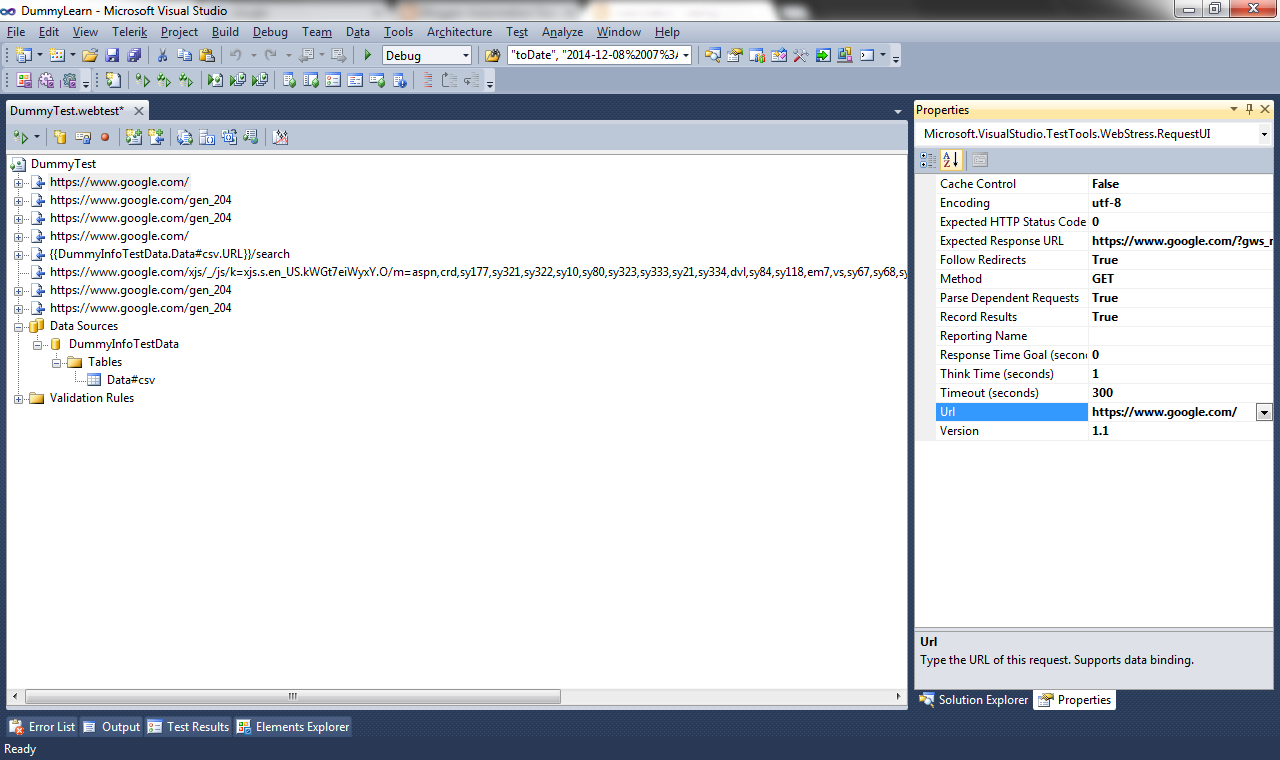
• Add "[DataSource]" to bind the CSV file with a Test Method.
• Here is the example:
[DataSource("Microsoft.VisualStudio.TestTools.DataSource.CSV",
"|DataDirectory|\\TestData\\Data.csv",
"Data#csv", DataAccessMethod.Sequential), DeploymentItem("Data.csv")]
• Use the CSV column Values in the code and here is the example:
TestContext.DataRow["Column1Name"] //Default would be string.
TestContext.DataRow["Column1Name"].ToString() // Convert into string.
Convert.ToInt32(TestContext.DataRow["Column1Name"]) // Convert into int.
 Note: Add "System.Data" in project "References".
3. Call a Test Method in Load Test
• Right-Click on “DummyLearn” Project.
• Navigate and Select “Add > Load Test..".
• Open a "New Load Test Wizard".
 • Click on "Next".
• Enter the Scenario Name say "Dummytest" and select "Think time profile" option required for performance run.
 • Click on "Next".
• Enter the load pattern required for performance run. // I choose step load pattern.
 • Click on "Next".
• Select the Test Mix that should be considered for performance run.
 • Click on "Next".
• Section to add test scenario.
• Click on "Add".
• Move the Test Method from Available panel to Selected.
 • Click on "Ok".
 • Click on "Next".
• Set the "Network Mix" settings, if any.
 • Click on "Next".
• Set the "Counter Sets" settings, if any.
 • Click on "Next".
• Set the "Run Settings" parameters which specify the length of the load test.
 • Click on "Finish".
• Load Test is created for the API.
• Click on "Run Test" to initiate the performance run.

• Once execution is over analyze the result.
• Put the cursor on any point within the Test Method and Right click on it.
• Select the "Run Tests" option.


• We can view the API response details.

• Create a folder in project for test data say “TestData”.
• Copy-paste CSV files which has required data to be parameterize.
• Right-Click on “TestData” folder. Select “Add->Existing Item..”
• Select “All Files (*.*) “option at bottom and then select “Data.csv” file which is visible now.
• Click on “Add”.
• It will add the file in the project.

private TestContext testContextInstance;
public TestContext TestContext
{
get
{
return testContextInstance;
}
set
{
testContextInstance = value;
}
}
• Add "[DataSource]" to bind the CSV file with a Test Method.
• Here is the example:
[DataSource("Microsoft.VisualStudio.TestTools.DataSource.CSV",
"|DataDirectory|\\TestData\\Data.csv",
"Data#csv", DataAccessMethod.Sequential), DeploymentItem("Data.csv")]
• Use the CSV column Values in the code and here is the example:
TestContext.DataRow["Column1Name"] //Default would be string.
TestContext.DataRow["Column1Name"].ToString() // Convert into string.
Convert.ToInt32(TestContext.DataRow["Column1Name"]) // Convert into int.

3. Call a Test Method in Load Test
• Right-Click on “DummyLearn” Project.
• Navigate and Select “Add > Load Test..".
• Open a "New Load Test Wizard".

• Enter the Scenario Name say "Dummytest" and select "Think time profile" option required for performance run.

• Enter the load pattern required for performance run. // I choose step load pattern.

• Select the Test Mix that should be considered for performance run.

• Section to add test scenario.
• Click on "Add".
• Move the Test Method from Available panel to Selected.


• Set the "Network Mix" settings, if any.

• Set the "Counter Sets" settings, if any.

• Set the "Run Settings" parameters which specify the length of the load test.

• Load Test is created for the API.
• Click on "Run Test" to initiate the performance run.

• Once execution is over analyze the result.