Assumptions:
Below are list of assumptions:- Visual Studio Ultimate 2010 is installed.
- Sql Server Express 2008
- Minimum 4 GB RAM
Web Performance Test:
1. Record & Play
Here are the steps to create a web test in VSTS:
• Navigate to “Start-> All Programs -> Microsoft Visual Studio 2010” and Click “Microsoft Visual Studio 2010”.
• It will open the VSTS window.
• Click on “New Project” link.
• It will open a pop-up to select the project.
 • As I prefer C# so select “Test” in Visual C#.
• Select “Test Project”.
• Modify the “Name” say “DummyLearn”. (Whatever “Name” you will give, it keeps the “Solution name” as same.)
• Provide the “Location” were project will be remaining.
 • Click on “OK”.
• It will create a “DummyLearn” test project.
 • By Default, It will create a “UnitTest1.cs” file and open it.
• As we are doing “Web Test” so we can delete this file.
• “Close” the open tab window.
• Right click on “UnitTest1.cs” file and select “Delete” option.
 • Click on “OK”.
• It will delete the file from the project.
• Right Click on “DummyLearn” project.
 • Navigate to “Add -> New Test”.
• Select “Web Performance Test”.
 • Enter the web Test name say “DummyInfostretch.webtest”.
 • Click on “OK”.
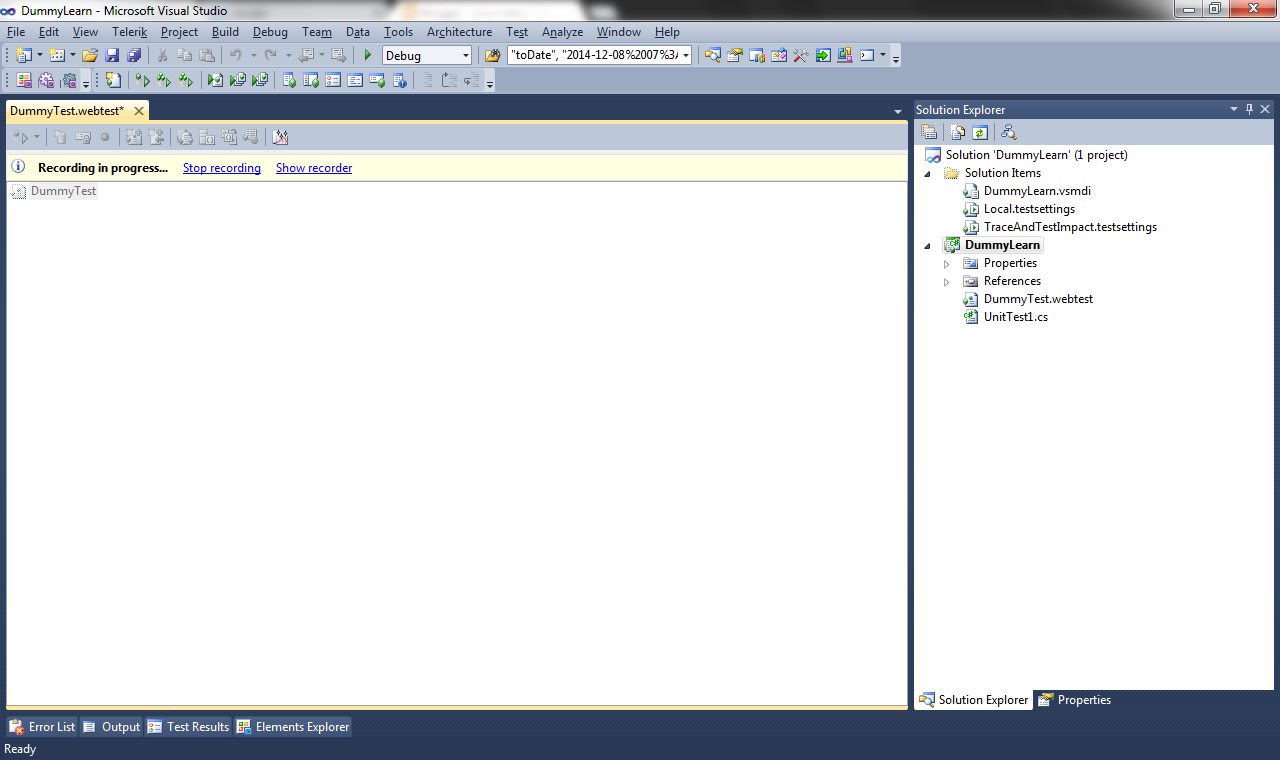
• It will open an IE browser window for recording with option like Record, Pause, Stop etc.

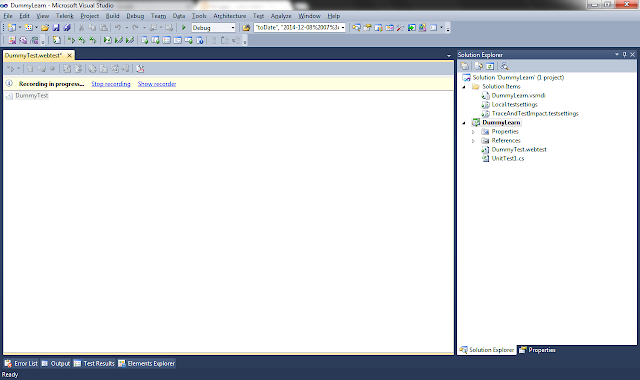 • Open the URL in browser and perform recording as per test steps.
• We have use dummy site for a web step and once recording done click on “Stop”.
• It will enter the request URL’s in VSTS webtest and add the dynamic parameters which VSTS by default add for the responses of the requests.

2. Execution
• Click on “Run test” button and it will run the recorded test.
 • Once executed it will show the Test Result in separate tab.

• We can temporary change the run settings by clicking on “Edit the run settings” and then run by clicking on “Click here to run again”.
 Note: To permanently change the settings, it’s covered in Web Test Settings section.
3. Parameterization
• Create a folder in project for test data say “TestData”.
• Copy-paste CSV files which has required data to be parameterize.
• Right-Click on “TestData” folder. Select “Add->Existing Item..”
 • Select “All Files (*.*) “option at bottom and then select “Data.csv” file which is visible now.
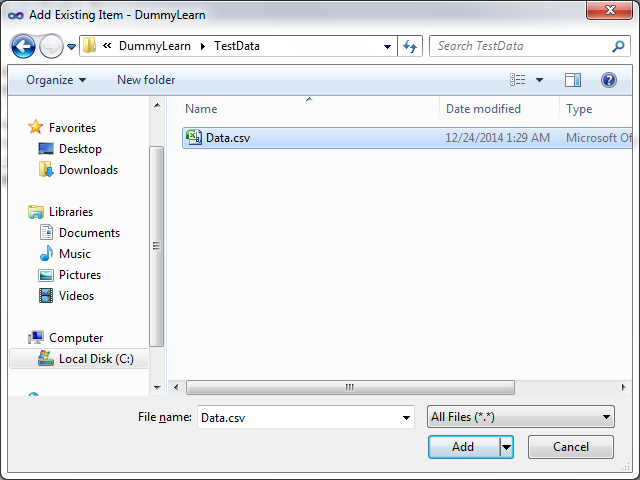 • Click on “Add”.
• It will add the file in the project.
 • Click on “Add Data Source” image of a web test.
 • Give data source name say “DummyInfoTestData” and select CSV file option.
 • Click on “Next”.
• Select CSV file from project “TestData” folder.
• It will show the CSV data there.
 • Click on “Finish”.
• Data Source will be created in a web test.
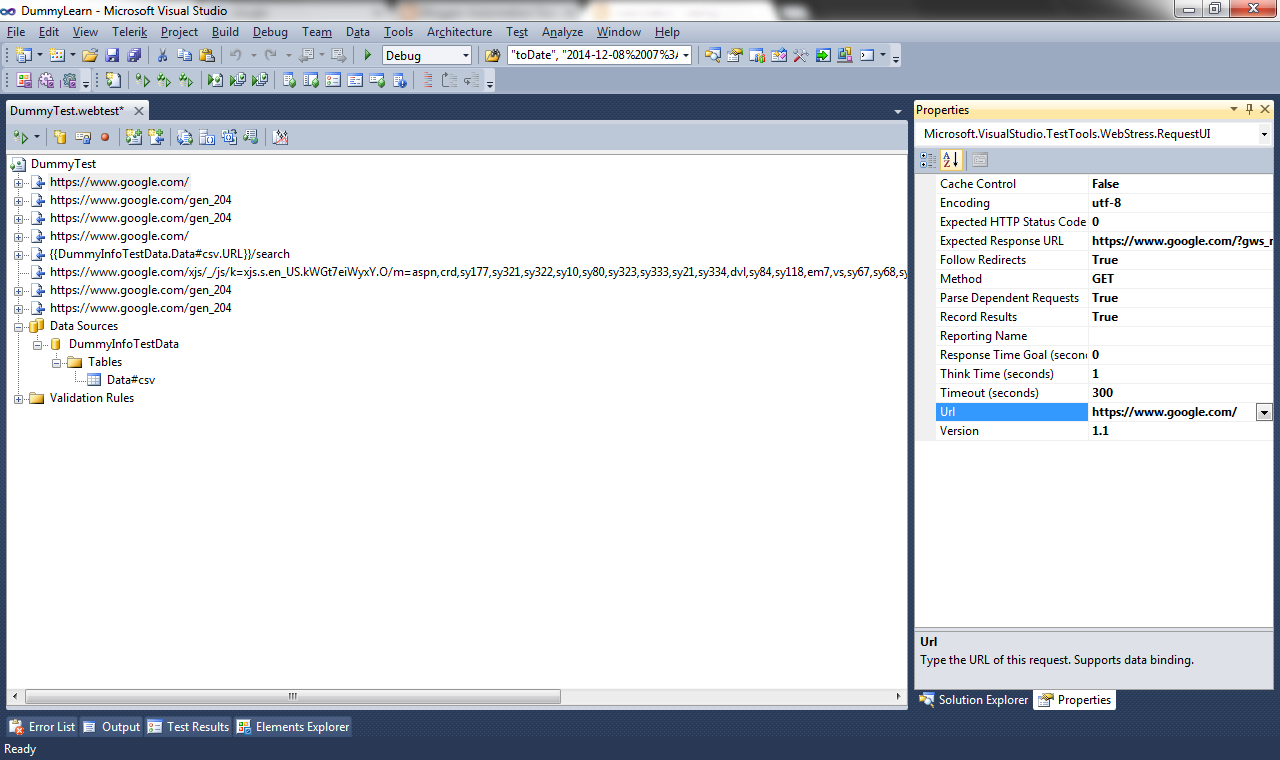
• Select the URL request were data need to be fetched from CSV.
• View its properties.
 • Click on URL properties and select the data source field column value.
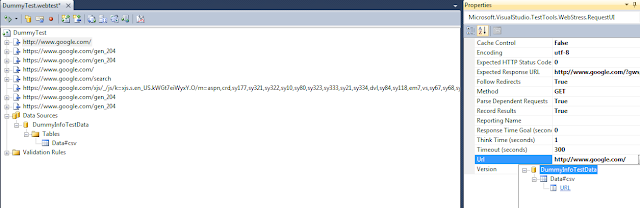 • It will replace the request URL with CSV value like “DummyInfoTestData.Data#csv.URL”.
• Let’s say if we have a URL like http://www.google.com/contact-us.php just edit the URL as “{{ DummyInfoTestData.Data#csv.URL }}/contact-us.php”. It will take the value from CSV file.
 • Run the parameterize web test.
4. Web Test Settings
• Navigate to “Test->Edit Test Settings->Local (local.testsettings)”.
• Click on “Web test” and change the test settings.
 • Click on “Apply” and then click on “Close”.
• These settings will reflect on all the web test of a project and even will be considered whenever we call the web test in a load test.
Here are the steps to create a web test in VSTS:
• Navigate to “Start-> All Programs -> Microsoft Visual Studio 2010” and Click “Microsoft Visual Studio 2010”.
• It will open the VSTS window.
• Click on “New Project” link.

• It will open a pop-up to select the project.

• Select “Test Project”.
• Modify the “Name” say “DummyLearn”. (Whatever “Name” you will give, it keeps the “Solution name” as same.)
• Provide the “Location” were project will be remaining.

• It will create a “DummyLearn” test project.

• As we are doing “Web Test” so we can delete this file.
• “Close” the open tab window.
• Right click on “UnitTest1.cs” file and select “Delete” option.

• It will delete the file from the project.
• Right Click on “DummyLearn” project.

• Select “Web Performance Test”.


• It will open an IE browser window for recording with option like Record, Pause, Stop etc.

• We have use dummy site for a web step and once recording done click on “Stop”.
• It will enter the request URL’s in VSTS webtest and add the dynamic parameters which VSTS by default add for the responses of the requests.

2. Execution
• Click on “Run test” button and it will run the recorded test.


• We can temporary change the run settings by clicking on “Edit the run settings” and then run by clicking on “Click here to run again”.

3. Parameterization
• Create a folder in project for test data say “TestData”.
• Copy-paste CSV files which has required data to be parameterize.
• Right-Click on “TestData” folder. Select “Add->Existing Item..”


• It will add the file in the project.


• Select CSV file from project “TestData” folder.
• It will show the CSV data there.

• Data Source will be created in a web test.
• Select the URL request were data need to be fetched from CSV.
• View its properties.

• Let’s say if we have a URL like http://www.google.com/contact-us.php just edit the URL as “{{ DummyInfoTestData.Data#csv.URL }}/contact-us.php”. It will take the value from CSV file.

4. Web Test Settings
• Navigate to “Test->Edit Test Settings->Local (local.testsettings)”.
• Click on “Web test” and change the test settings.

• These settings will reflect on all the web test of a project and even will be considered whenever we call the web test in a load test.